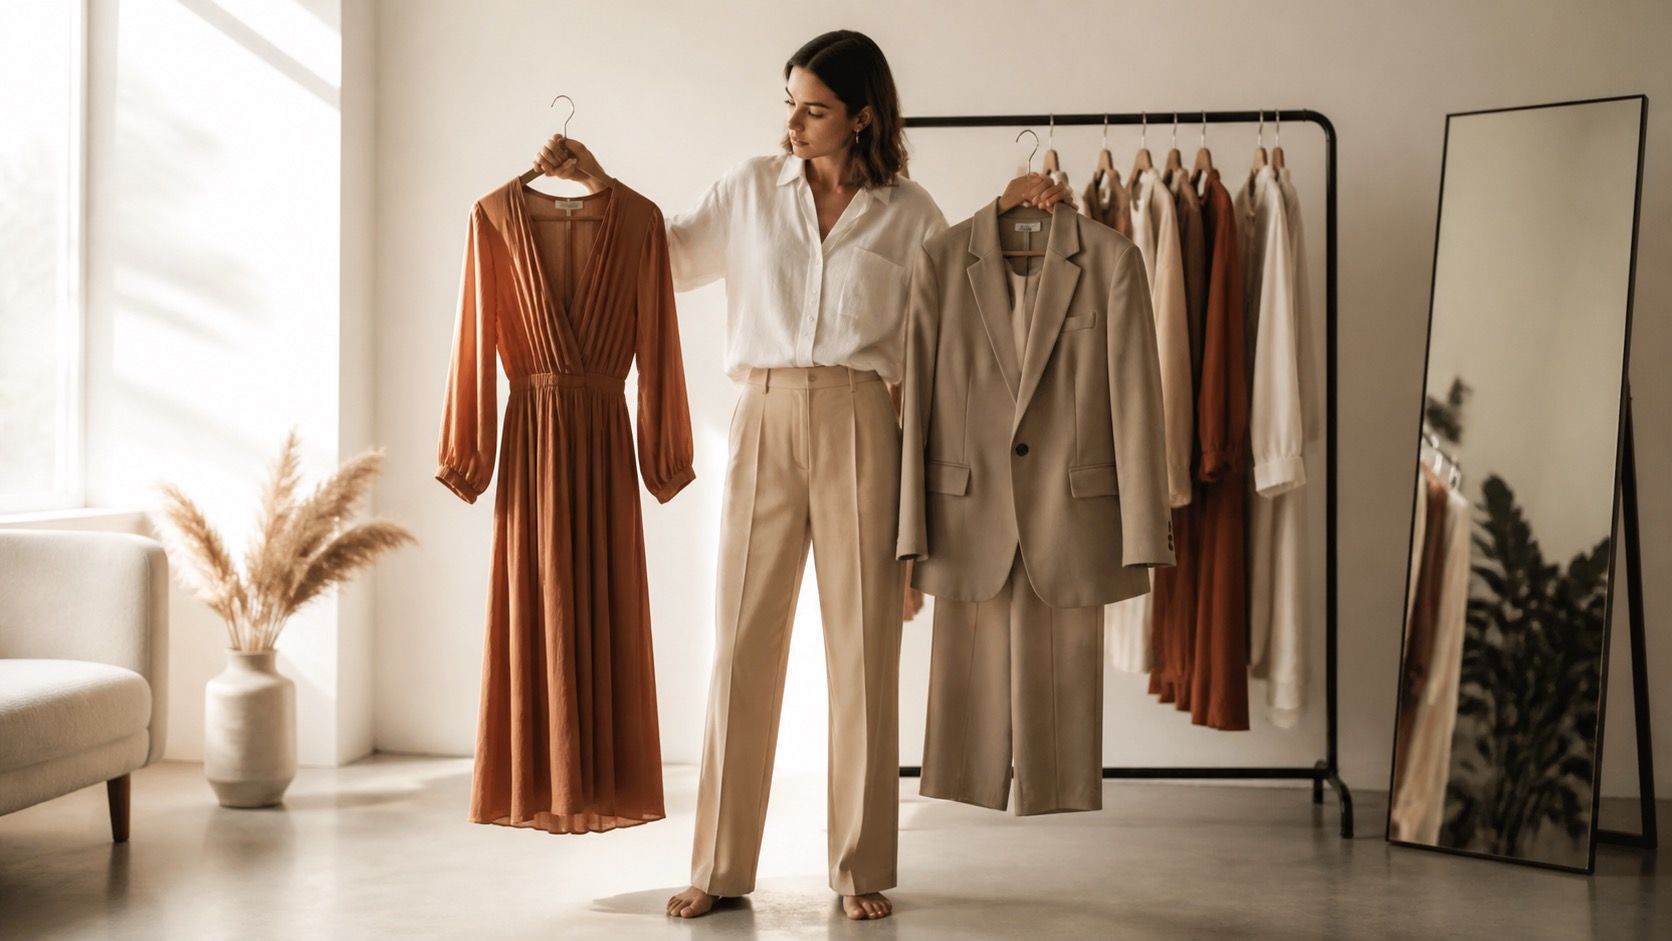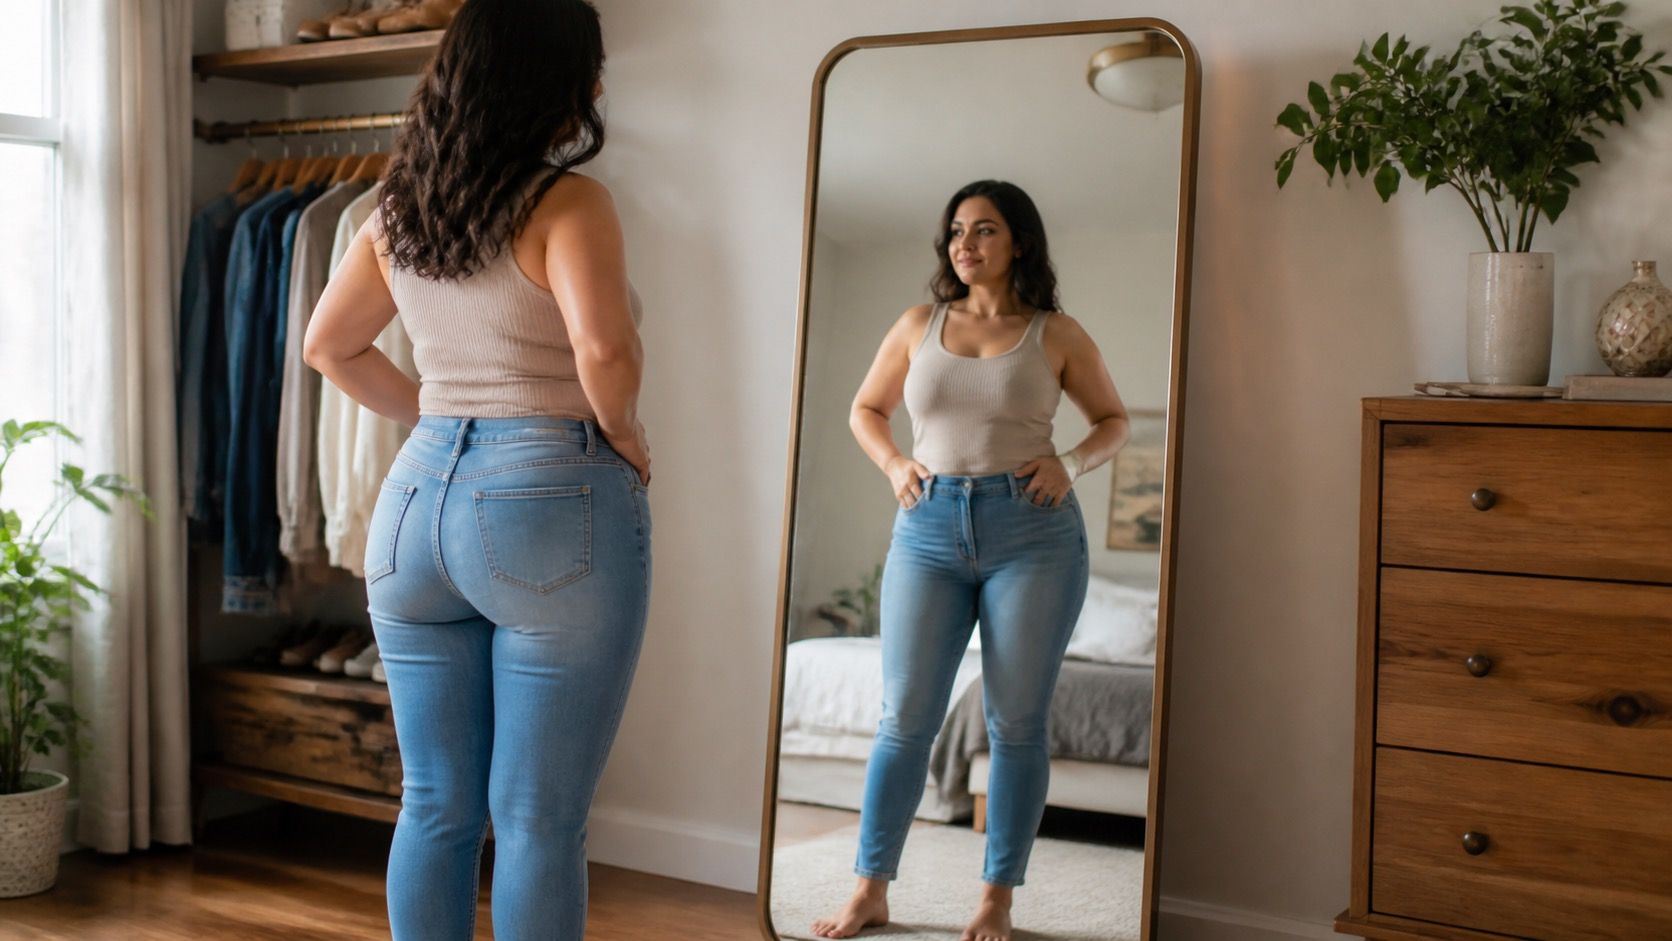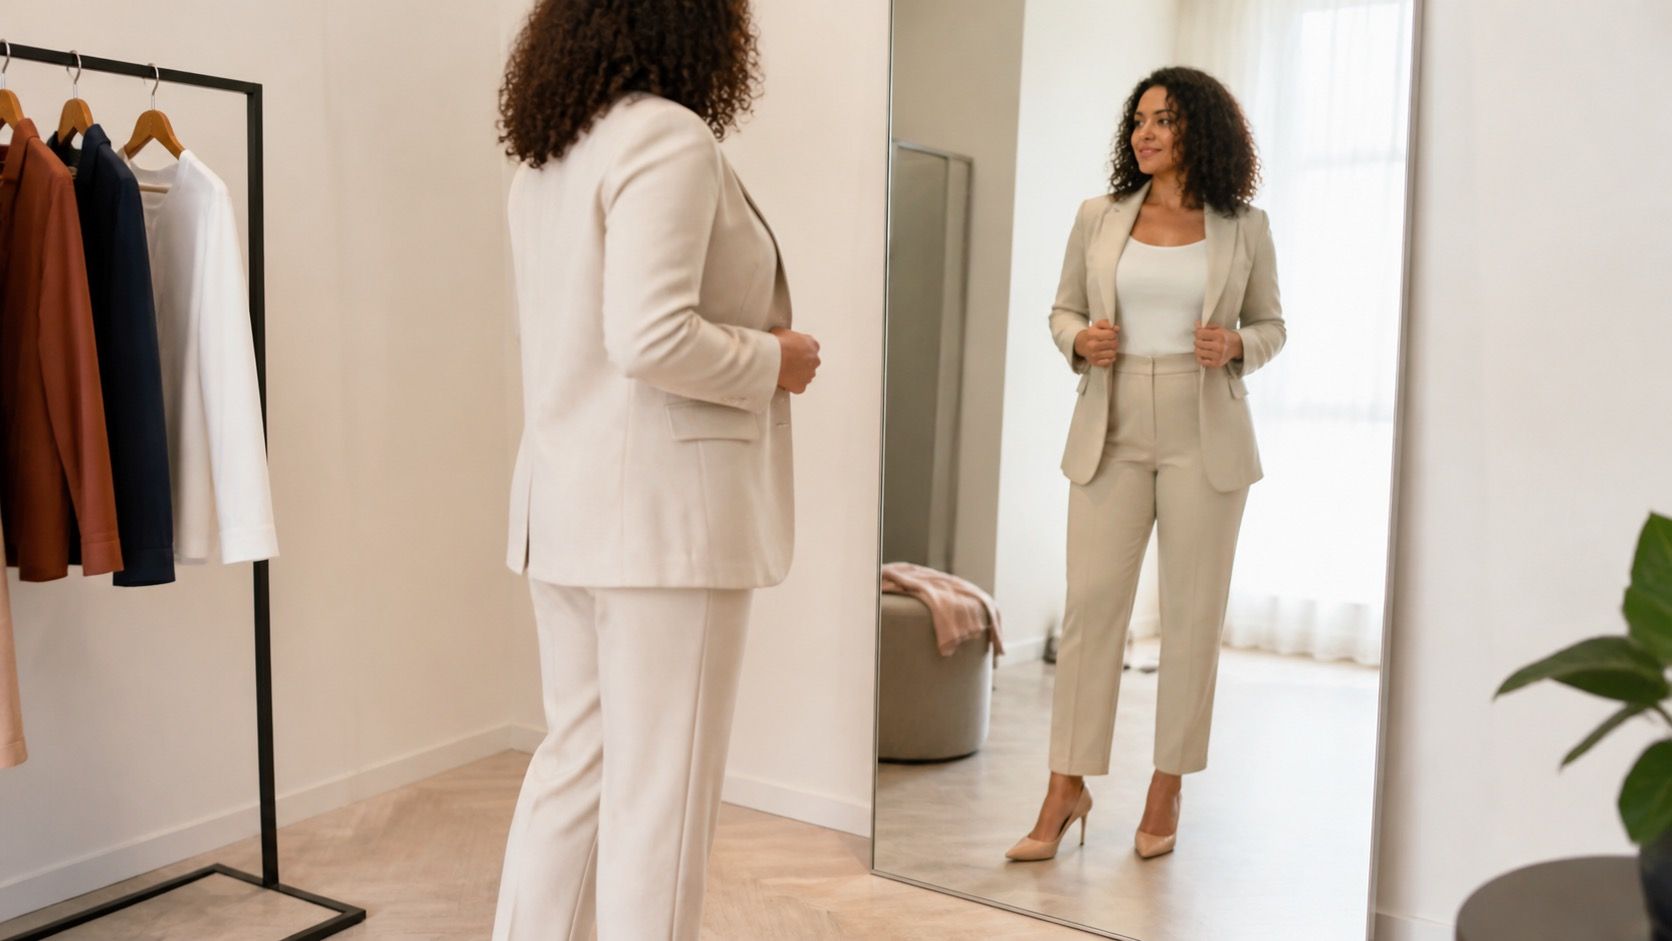
A body shape guide is most useful when it helps you notice why one garment feels settled and another feels slightly off, even in the right size. It is not a verdict on your body or a list of clothes you are forbidden to wear. Think of it as a fitting tool: a way to read shoulder width, waist placement, hip ease, and vertical line before you buy another version of the same disappointing item.
Use a body-shape guide as a fitting tool, not a label
The familiar labels—hourglass, pear, rectangle, apple, inverted triangle—can be handy shorthand, but they flatten a real body into a diagram. Two people with the same hip and bust measurements may need completely different jackets because one has a broad shoulder line, a shorter torso, or a higher natural waist. Weight changes, exercise, posture, and even the bra you wear can change what you see in a mirror. That is why a useful body type guide begins with relationships rather than a category.
Notice your proportions before you reach for a tape measure
Stand in front of a mirror in fitted, comfortable clothes and look at the whole outline rather than one body part at a time. Compare the visual width of your shoulders with the widest part of your hips. Notice where the torso appears to narrow, where your legs seem to begin, and whether your ribcage reads long or compact. Take one front photo at a normal distance if that helps; close mirror selfies distort the line and make a small difference look dramatic.
A tape measure can add useful context, especially for online shopping, but it cannot tell the full story. Measure bust, waist, and hip at the points you actually need garments to fit, keeping the tape level and easy rather than pulled tight. Then note shoulder fit in shirts and jackets. If tops often pull at the upper back while trousers fit easily at the hip, that practical pattern matters more than whether a calculator calls you one type or another.
| What to observe | Simple check | What it can affect |
|---|---|---|
| Shoulder line | See where a jacket seam lands | Blazer cut, sleeve shape, necklines |
| Waist placement | Try a belt at natural and high waist | Dress seams, trouser rise, crop length |
| Hip ease | Sit and take a normal step | Skirt shape, trouser pockets, jacket vents |
| Vertical balance | Compare tucked and untucked tops | Hem length, layers, shoe proportion |
Keep the observations plain. “This shirt needs a little more room at the shoulder” is more actionable than “my shoulders are wrong for shirts.” Fit problems belong to the garment and its pattern as often as they belong to a measurement. A good wardrobe is built from repeatable observations, not from correcting yourself into a shape chart.
Read the three lines that change an outfit
The shoulder line, waist placement, and hem length do most of the quiet work in an outfit. A structured shoulder can make the upper body look more deliberate; a dropped shoulder can soften it but may add width. Neither result is automatically better. The useful test is whether it relates well to the rest of the silhouette. If an oversized shirt has broad shoulders and also ends at the widest point of the hip, it can feel bulky simply because both horizontal lines are competing.
Waist placement is often misunderstood as a command to cinch. It is really about where an outfit changes direction. A seam, tuck, belt, buttoned cardigan, or high-rise waistband can mark that point. Try the same dress with its tie sitting at the natural waist, then a little higher, then loose. The best position may be the one that gives your torso enough length and lets the skirt fall without pulling. Tight definition is not the only way to create balance.
Hem length works in conversation with both of those lines. A cardigan ending just above the hip can create a compact top half; one that reaches mid-thigh often makes a longer vertical column. With wide-leg trousers, a slightly shorter top may show the waist and keep the legs clear. With a narrow skirt, a longer layer can feel more relaxed. These are not rules to memorize. They are adjustments worth testing in your own mirror, in shoes you would actually wear outside.
Use fit and fabric before buying more clothes
Many supposed body-shape problems are actually ease problems. A blouse that pulls across the bust may make the whole torso look wider, while the next size hangs at the shoulder. A tailor may be able to adjust darts or side seams, but cannot always rebuild a too-narrow shoulder. When trying on a woven shirt, raise your arms, sit down, and look at the side view. When trying trousers, walk, use the pockets, and check whether the waistband stays where it should without a belt doing all the work.
Fabric changes the reading of a silhouette as much as cut. Crisp poplin holds a shirt shape away from the body; a fine knit follows it; a heavy ribbed knit can cling at one point and hang at another. A fluid trouser may skim the hip and fall straight, while a stiff cotton version in the same cut can stand out. This is why recommendations like “wear wide legs” or “avoid boxy tops” often fail. The material, seam placement, and amount of ease decide whether the idea translates.
Before replacing a garment, make one low-risk adjustment. Tuck only the front of a shirt, roll a sleeve once, change a bulky belt for a narrow one, or try a different bra and shoe. If the outfit improves immediately, you have learned something specific about proportion. If it still fights you after a few changes, the cut is probably not earning its place in your wardrobe.
Build a small try-on test instead of chasing perfect rules
A practical way to learn how to dress for your body shape is to test a few versions of the same outfit. Choose one pair of trousers, one skirt or dress, two tops of different lengths, and one jacket or cardigan. Photograph each combination from the front and side in daylight. Do not judge the photos for attractiveness; look for the points where fabric bunches, a hem interrupts the line, or the shoulder seems to vanish. The patterns become clearer when you compare four outfits than when you stare at one.
Write down only findings you can reuse: “mid-rise trousers stay put,” “crew necks work better with an open layer,” “the jacket needs to clear the widest hip point,” or “soft waist shaping is enough.” These notes are more valuable than an online body shape calculator because they account for your posture, preferences, and real closet. Review them when shopping online, where measurements and fabric descriptions are more useful than a model photo.
Leave room for clothes that break your usual pattern. A dramatic oversized coat, a loose dress, or a straight-cut shirt can work because contrast is part of style. The final check is simple: can you move, can you see the proportions you intended, and do you feel like yourself? A body shape guide should make that decision faster, not make dressing feel like a test you can fail.